How to install or replace an MC4 connector

Installing MC4 connectors on PV (Photovoltaic) wire involves a straightforward process. The MC4 connectors are commonly used in solar installations for connecting solar panels. Here's a step-by-step guide on how to install MC4 connectors on PV wire:
Materials and Tools Needed:
- MC4 connectors (male and female)
- PV wire
- MC4 crimping tool
- Wire stripper/cutter
- MC4 assembly tool (optional)
- Heat gun or heat shrink tubing (optional)
Procedure:
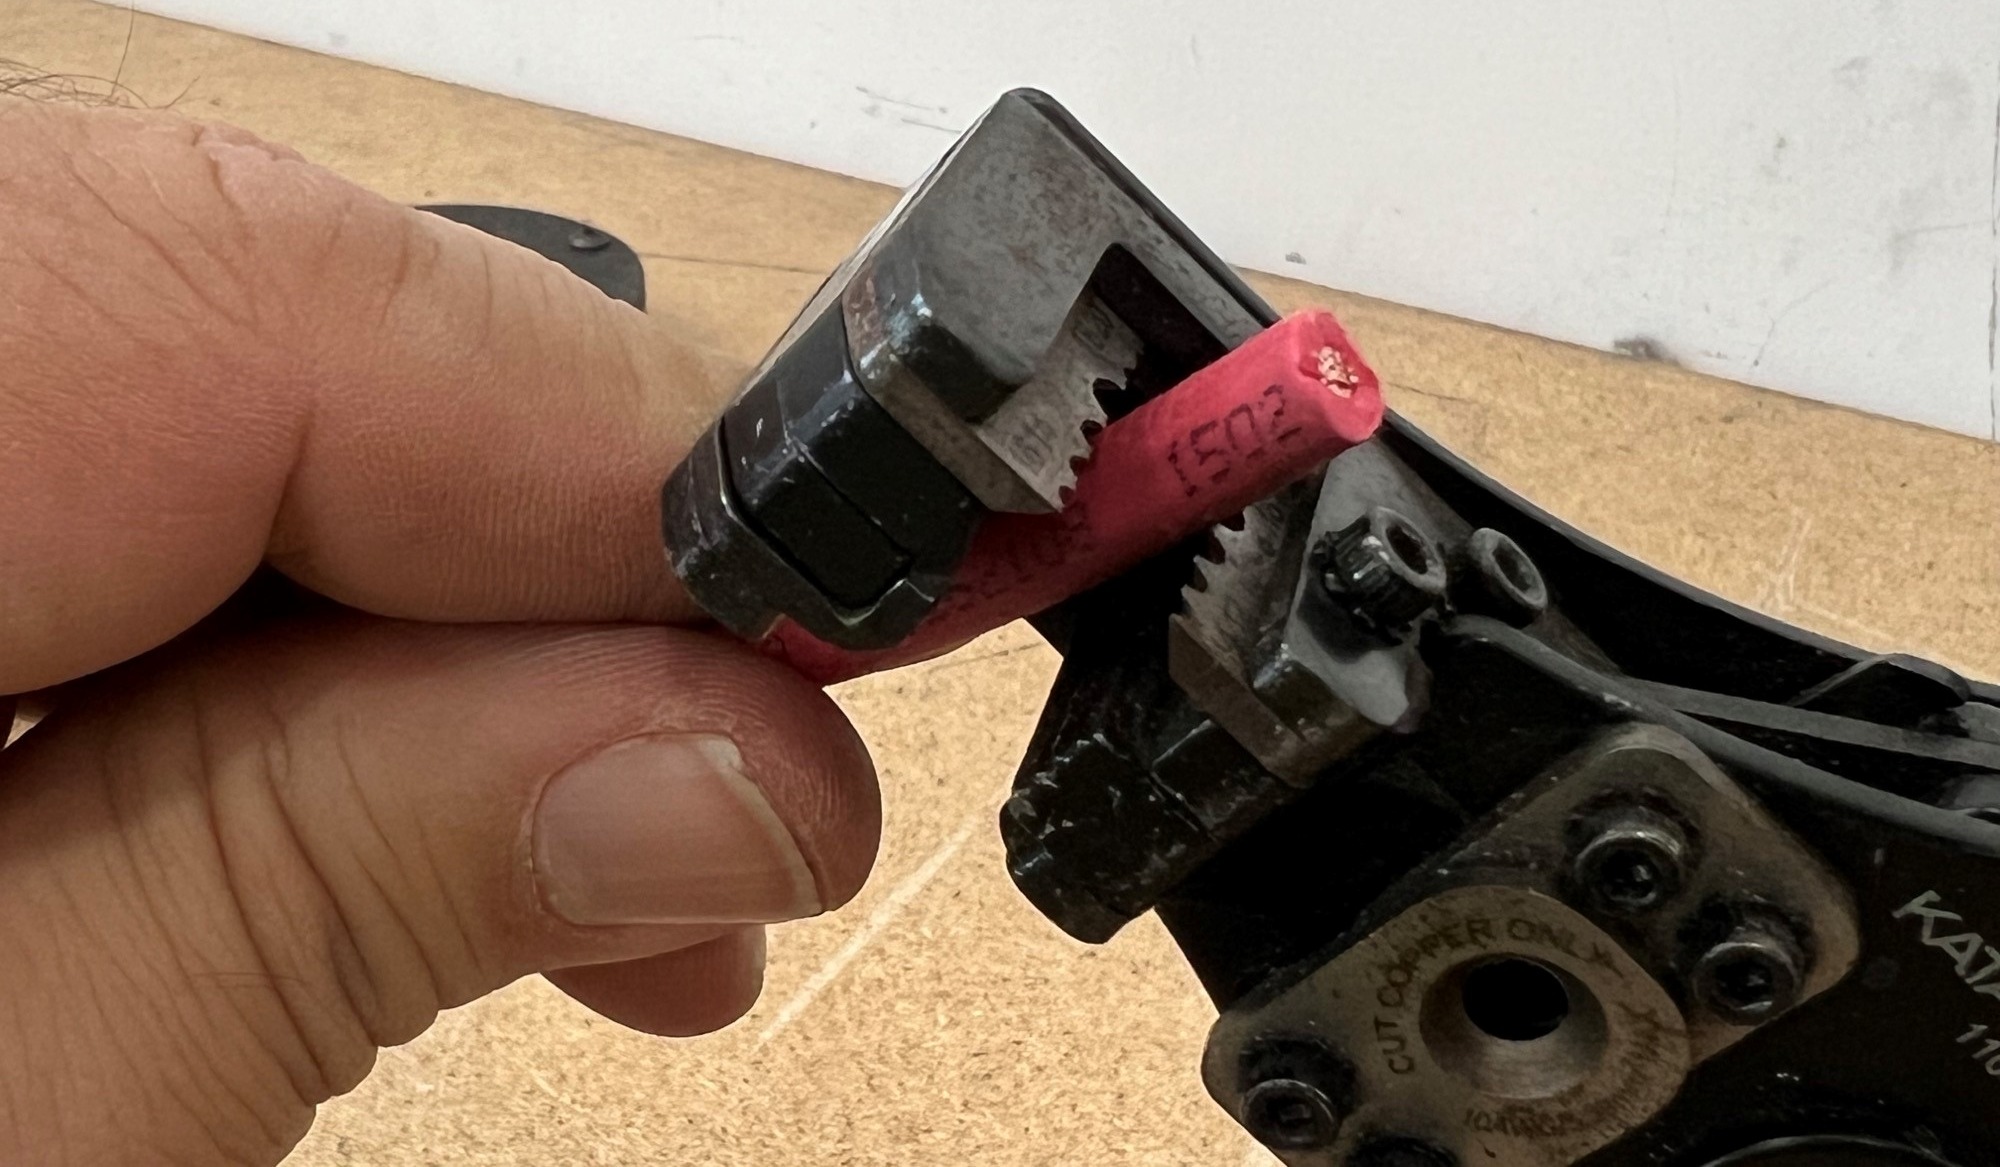
- Prepare the PV Wire:
Start by stripping the insulation from the ends of the PV wires using a wire stripper. Strip off about 1/2 to 3/4 inch (12-20 mm) of insulation from the end of each wire.


- Check Polarity:
If you are installing on solar panels, ensure the correct polarity by connecting the male and female connectors appropriately. Positive to positive and negative to negative. There will typically be a + and – indication on the junction box and the MC4 connector. -
Insert the Wires into the MC4 Connectors:
Twist of the back end of the MC4 connector and remove from front housing. Feed wire through rear housing and seal. For each wire, insert the stripped end into the appropriate MC4 connector (male or female). The long metal connector is for the positive connector and the short metal connector is for the negative connector.

- Crimping:
Use the appropriate MC4 crimping tool to crimp the connector onto the wire. Ensure that the crimping tool is centered over the connector and apply enough pressure to create a tight connection.
- Check the Crimp:
Confirm that the wire is securely crimped to the connector by giving it a gentle tug. It should not come loose. - Heat Shrink Tubing (Optional):
If desired, slide heat shrink tubing over the crimped area. Use a heat gun to shrink the tubing, providing additional insulation and protection against environmental factors. -
Lock the connector: MC4 connectors have a locking mechanism to ensure a secure connection. After crimping the connector, push the connector halves together until you hear a click, indicating that the locking mechanism is engaged. This will prevent the connectors from accidentally disconnecting.

- Close the MC4 Connector:
Close the MC4 connector by tightening the cover using the MC4 assembly tool or your fingers if you don’t have access to the tool. Be sure to fully tighten the cover completely. There should be no space between the cover and housing of the MC4 connector. This helps protect the connection from dust, moisture, and other elements. Give the wire a tug to ensure it is securely connected. It should not move.
Check out our most recent YouTube video below!


